


We invite investors for cooperation to jointly open a chain of stores in your country. This is a beautiful and profitable project that gives spiritual and financial satisfaction. In this way, you can influence the cultural education of the future generation. Also, the Project may be interesting for novice business women.
We have a complete business plan and proposal. Just fill in the form
INTERNATIONAL CLOTHING AND TEXTILE EXHIBITION Dubai, November 2021

Dubai Youth Fashion Week,
December 2021

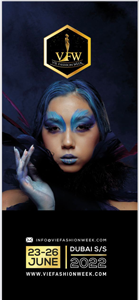
Vie Fashion Week Dubai,
June 2022
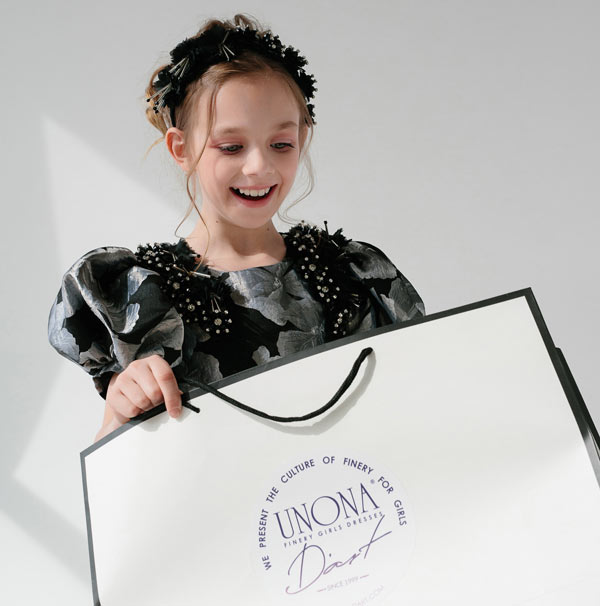
UNONA FINERY in Instagram @unona_finery
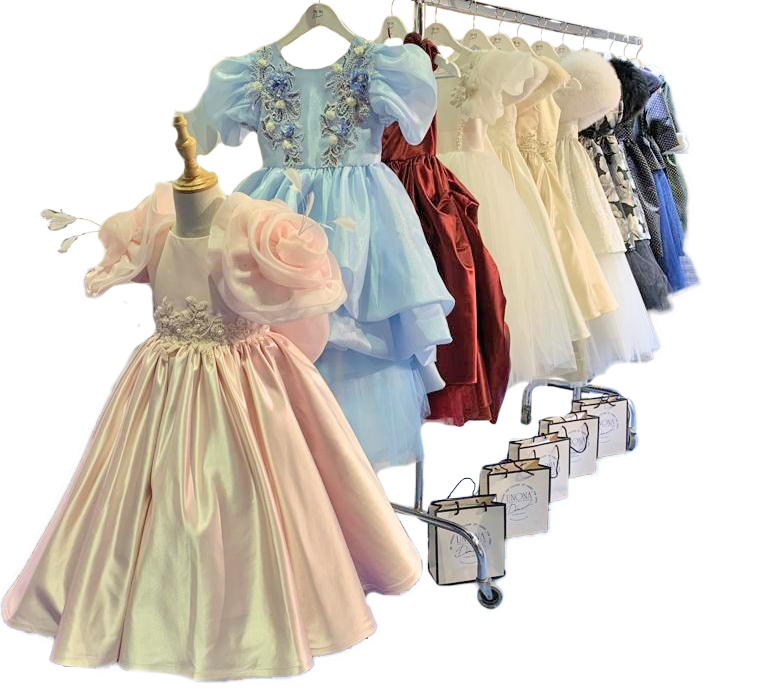
Corner is the best way to fully present the brand.
Add a new brand to your beautiful store. Customers love everything new. Moreover, the Unona collections look great in the shopping room and attract buyers. This has been proven by our 250 partners in Russia. When such dresses are presented in the store, the average bill increases significantly, even outside the high season.
The design and quality of the product allows you to make a high margin.
Small size ranges of 4-6 sizes allow you to have a wide assortment of dresses with a small investment.
For corners, we have a special offer for the settlement system and a price list.
Just fill in the form
Add a new brand to your beautiful store. Customers love everything new. Moreover, the Unona collections look great in the shopping room and attract buyers. This has been proven by our 250 partners in Russia. When such dresses are presented in the store, the average bill increases significantly, even outside the high season.
The design and quality of the product allows you to make a high margin.
Small size ranges of 4-6 sizes allow you to have a wide assortment of dresses with a small investment.
We have a formed offer and price list. Just fill in the form